The Movement of the Eyes Organizes the Movement of the Body (Patrons)
Standing, then mostly side-sitting on the floor, with rests lying on the back. Discovering how improving the smooth tracking of the eyes in various turning motions can improve the whole self.

We offer over 50 free lessons, but this one's just for our Patron-level donors. You can learn about it in the free lesson notes and comments below, but to access the audio you’ll need to join The FP as a Patron. Learn more
“Side-sitting” is described at the very beginning, and again around 12:00. If you can’t get comfortable in side-sitting try Secrets of the Seated Twist first.
Here’s a photo, which also includes the position of the arms most often used in the lesson: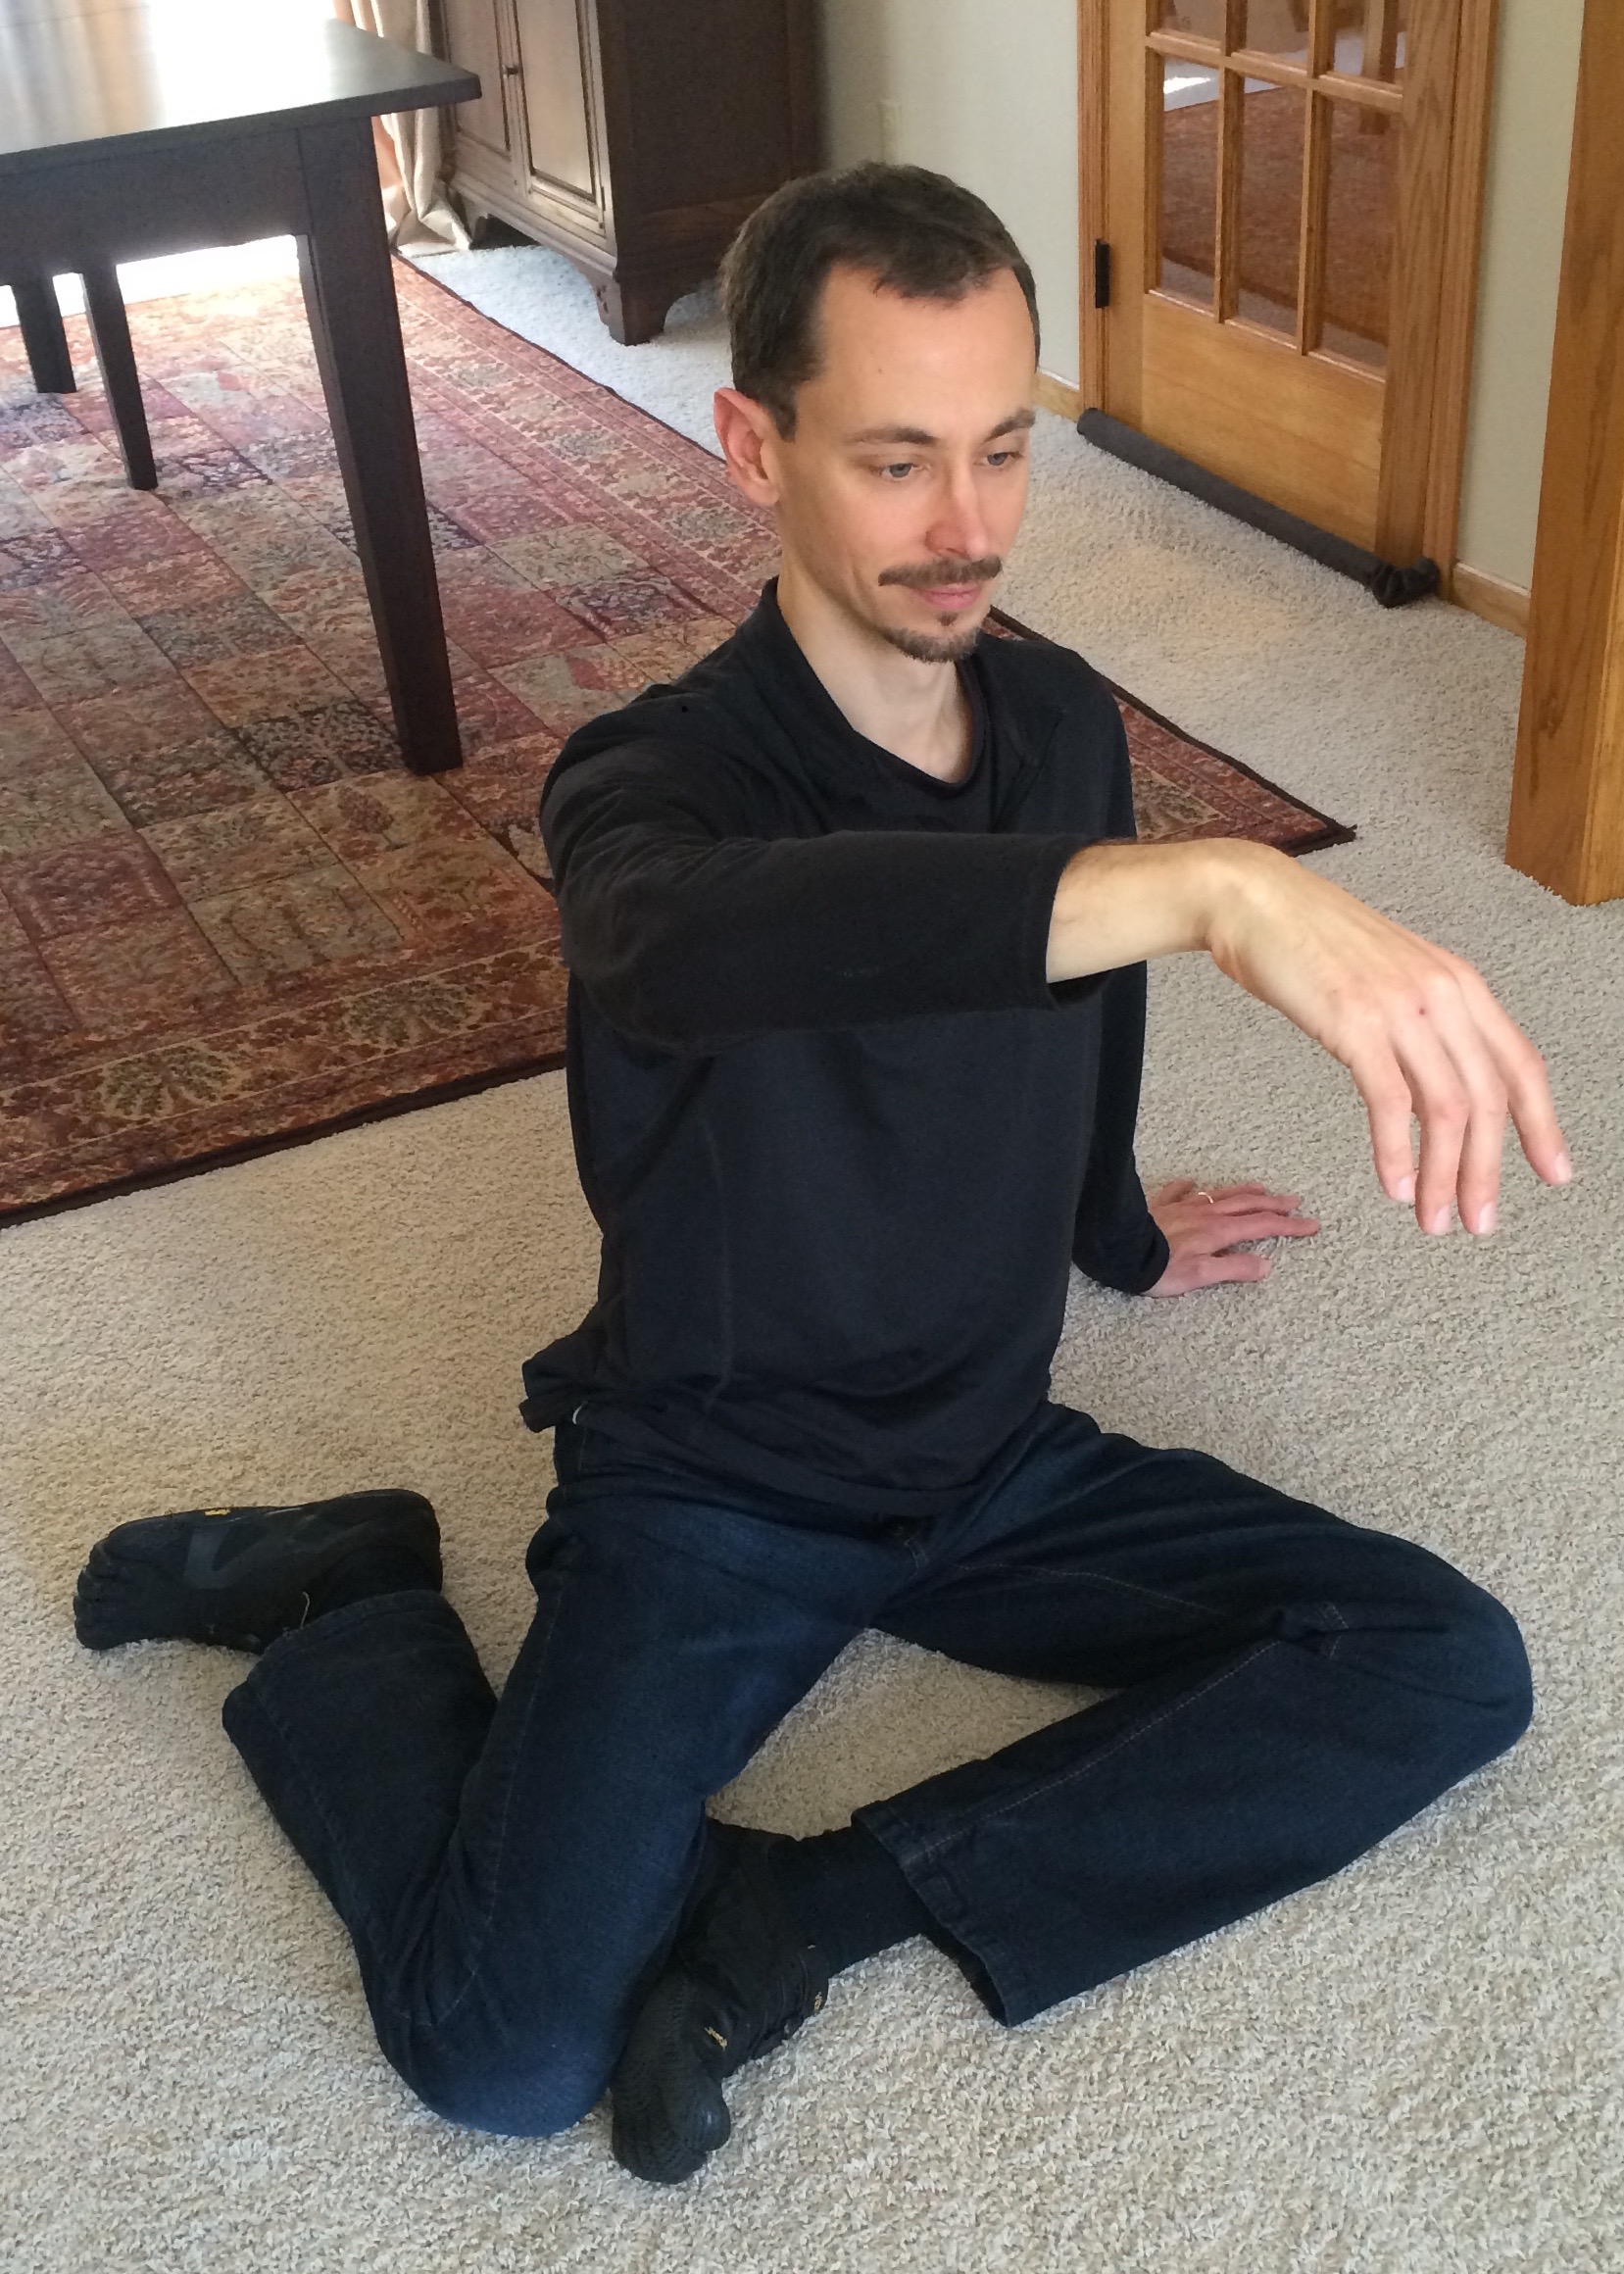
- This would be called side-sitting to the left because my knees are to the left, and my feet are to the right. The outside of my left foot is resting on the floor, and the sole of my left foot is positioned as if standing on the bottom of my right thigh (a place also described in the lesson as the top of my right knee). My left hand is helping support me, and my right hand is dangling loosely in front of my eyes, at the height of my horizon. This is the first seated home position of the lesson, though you may choose its exact opposite (simply reverse all these rights and lefts)–whichever is more comfortable.
- Yoga blocks are discussed as something you can sit on to make it easier for your hips and pelvis, or put under your support hand if need. A few inches of folded bath towel works too. You could also lean on your fist at any time instead of your palm.
- If necessary it is also possible to do all the seated portions of this lesson sitting near the front of a firm, level chair, with the knees and feet comfortably wide apart, tipping the knees to the side you are turning to, and shifting the weight onto that side’s sitbone while you twist in that direction.
Got a question for Nick, or a thought about this lesson?
Use the comments section below! Public comments build our community and help search engines find us.

6 Comments
Leave a Comment

These icons are part of "My Journey," where you can make lists of your own saved and favorite lessons, courses, and talks.
To access this donor benefit login below or Join the Project
Click here if you need to reset your password
Hi Nick,
I first did this lesson back in 2002 when I recorded it on cassette straight from the book. Probably have not done it since 2005. Your pacing was very enjoyable. I remember the lesson somewhat differently. Are they abridged in any way?
Hello! It’s been a few years since I recorded and listened to this one, but my intention with these lessons from Moshe’s ATM book has been to stay as close to the written lesson as possible, even as I put things in my own words. At this point the lessons I have left to add to this collection are the ones that will require a little more creativity! So I’m pretty certain this version is close to the source, though I do recall some ambiguity in Moshe’s instructions about differentiation of the eyes. I chose to play with that step late in the lesson in supine, to hedge my bets a little. If you happen to compare directly, comment again and let us all know! -Nick
I have only just come to Feldenkrais.
During a retreat that I attended Feldenkrais was run each morning.
I found them amazing….Having MS I felt a huge benefit in my movement.
I just now did this session and now I will do it regularly because by the end of it my balance and movement was so much better.
I’m a convert.
Thank you
Definitely one of my favorite lessons. It may seem our eyes are working and our body is what gets stuck when really it’s the other way around.
Is there a lesson that works with the eyes in more of an up and down manner? Also what lesson would you recommend for improving the side sitting configuration?
[2024 Update: Basic Folding and Arching (Patrons) is a more direct exploration of your question (up/down eyes). These two also include elements of integrating up/down movements of the eyes.]
The first half of More Precise Hips and Spine includes related actions and will help with the eyes up and down question.
Regarding getting more comfortable in side-sitting, I’ve added info to the Related Notes tab on this lesson, above! Thanks to your comment I’ve added another cross-reference for donors there.
The awareness of the jumping of the eyes across the horizon was interesting. I was able to smooth out my vision by softening my gaze, and it almost became like fast motion like when a movie is showing the first-perspective on someone spinning, and other times felt like looking through water. Noticing the significant difference in hip mobility and back position was interesting. I liked the cue about the spatula lifting up the unweighted side of the pelvis. This made it a lot easier for me. By the end of the lesson I had some gripping in one of my knees so I had to sit in a completely different way to do the swinging back and forth. The noticings during the swinging at the beginning was my favorite part–which area starts the movement? Great question!!